Getting Started with Jetson
An onboarding guide for new NVIDIA Jetson developers, covering the official developer kit user guides and remote development with VS Code or Cursor over SSH.
This guide is the recommended starting point once you have an NVIDIA Jetson developer kit in hand. It first directs you to the official Quick Start Guide for your developer kit to complete the initial hardware and software setup, then walks through establishing a remote development workflow from your workstation over SSH, including a full IDE experience with VS Code or Cursor.
If you are new to the Jetson platform, review Introduction to NVIDIA Jetson first for an overview of the hardware generations, developer kits, and the JetPack software stack.
Official Developer Kit Quick Start Guides
Firmware flashing, first boot, and JetPack installation are documented in the official Quick Start Guides on docs.nvidia.com. Select the guide that corresponds to your developer kit and complete the setup before continuing.
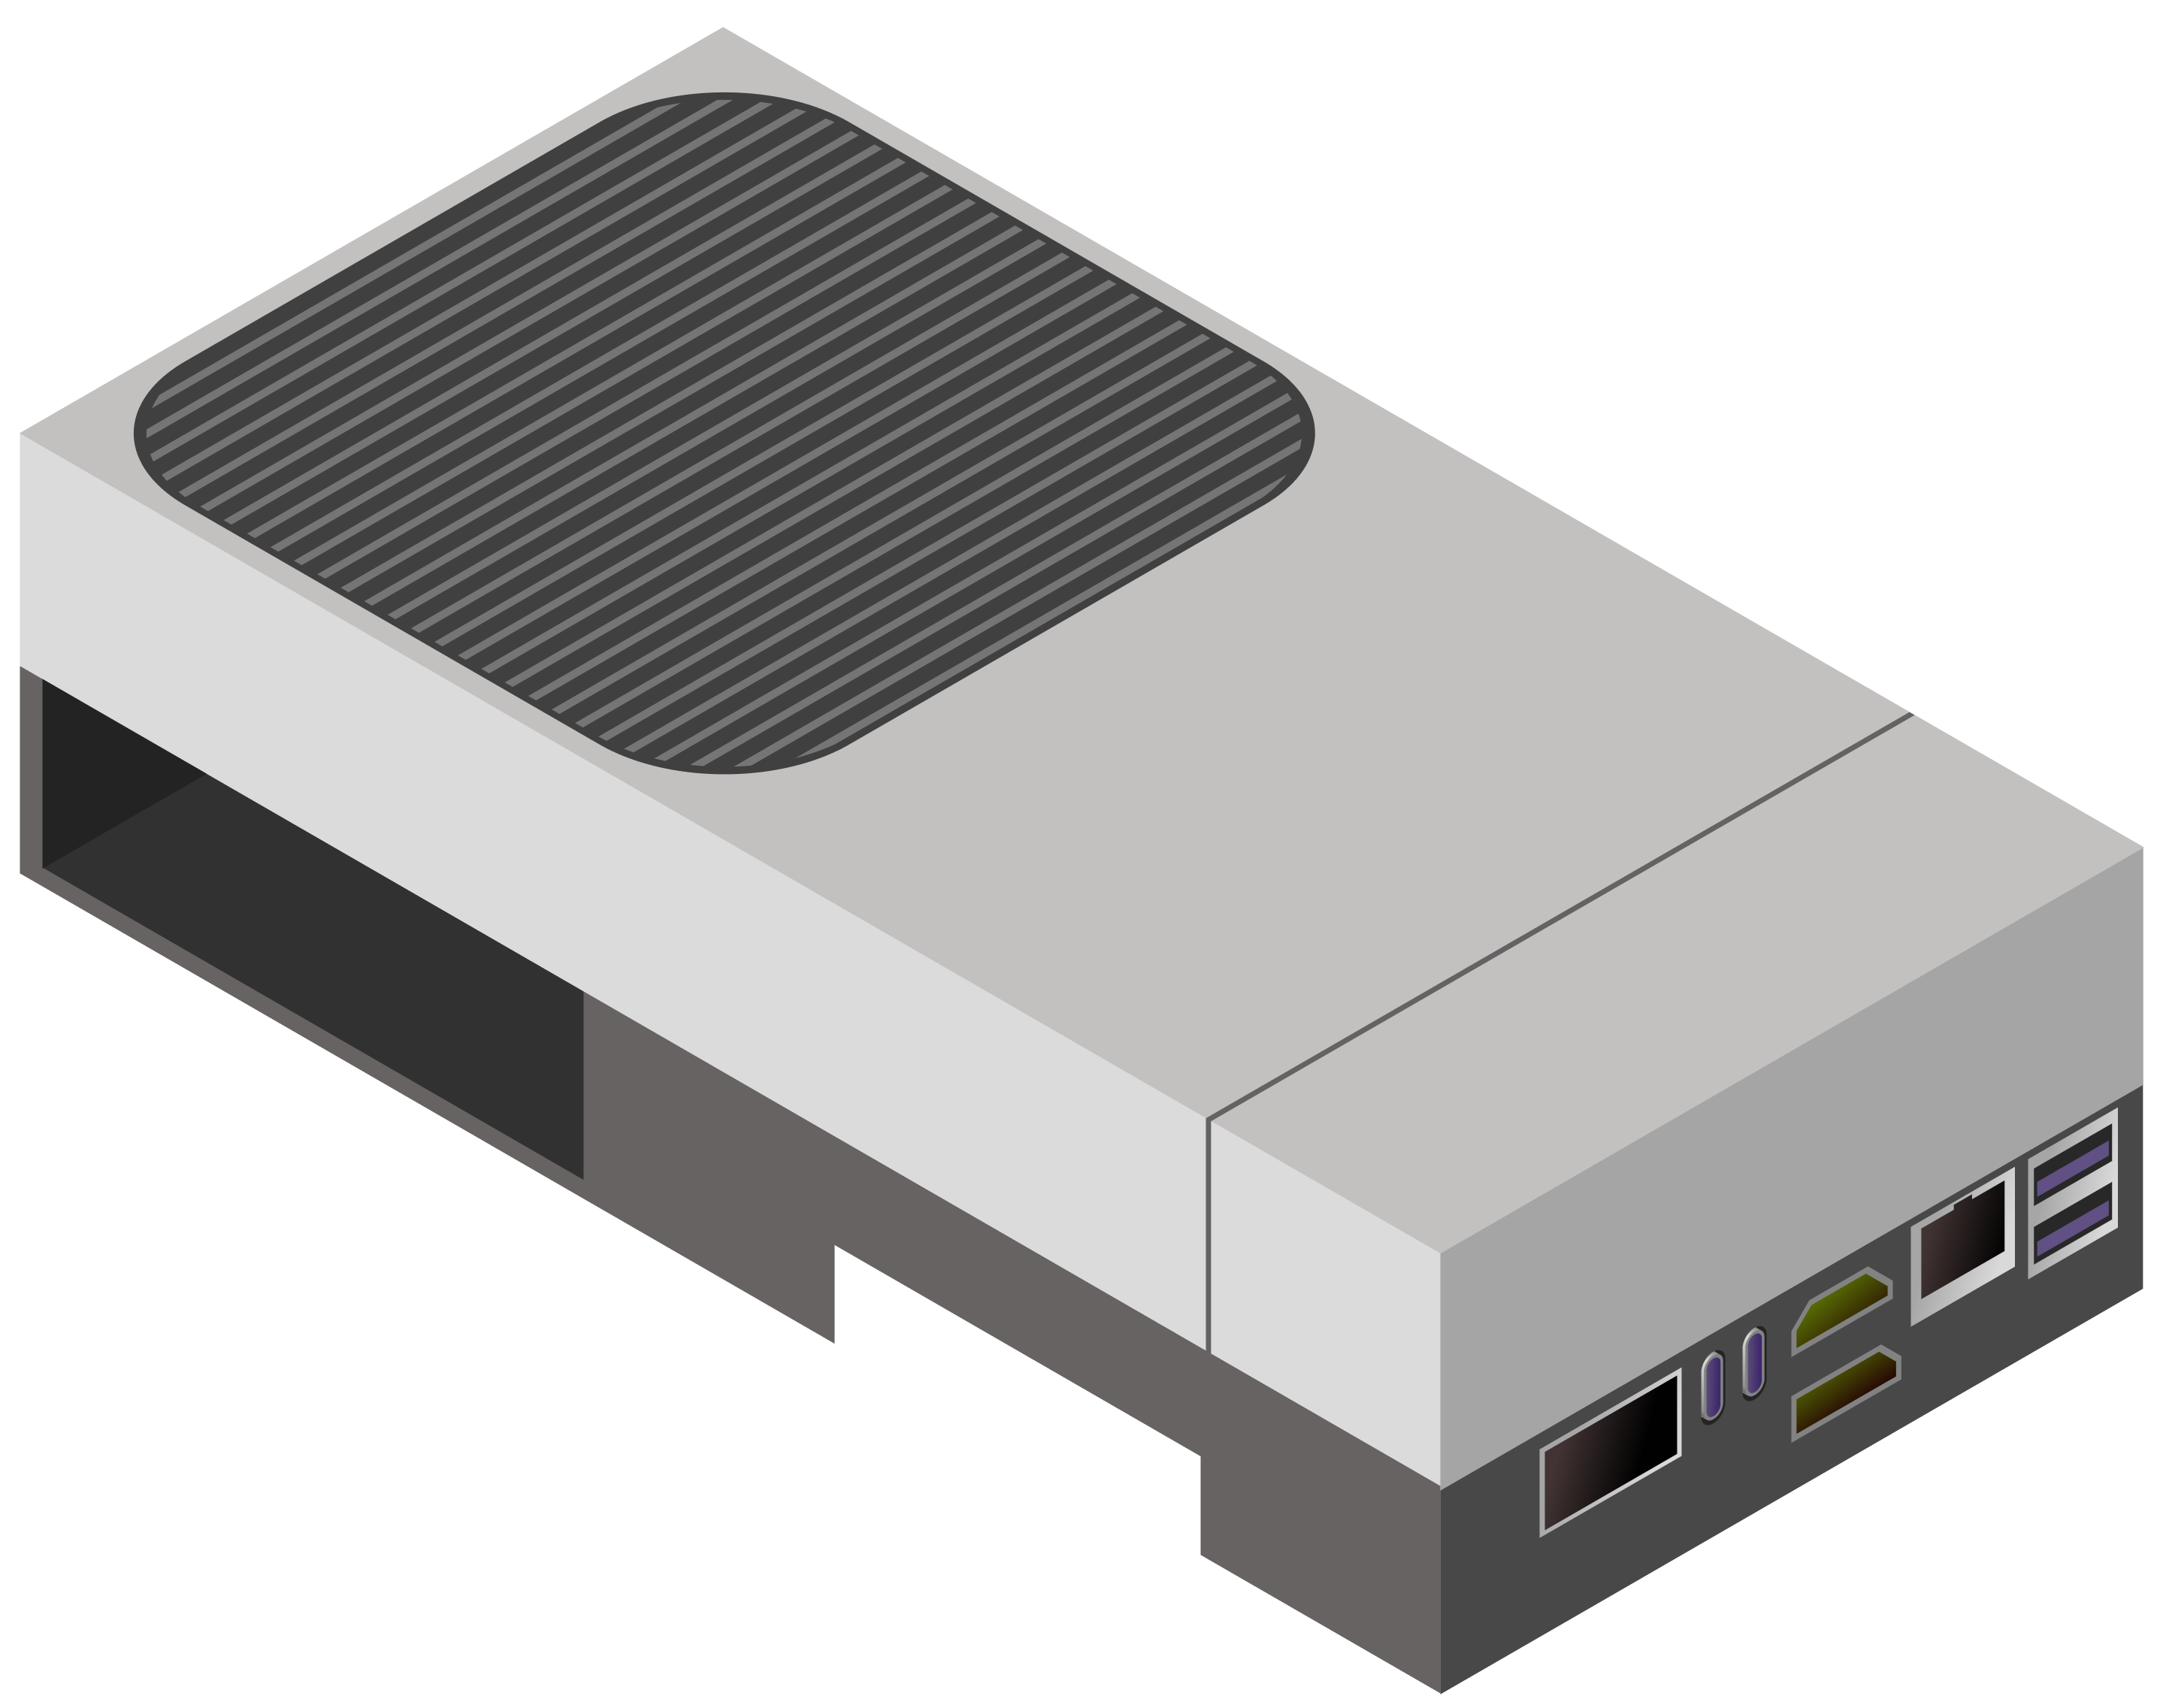
Thor Generation
Jetson AGX Thor Developer Kit — Quick Start Guide
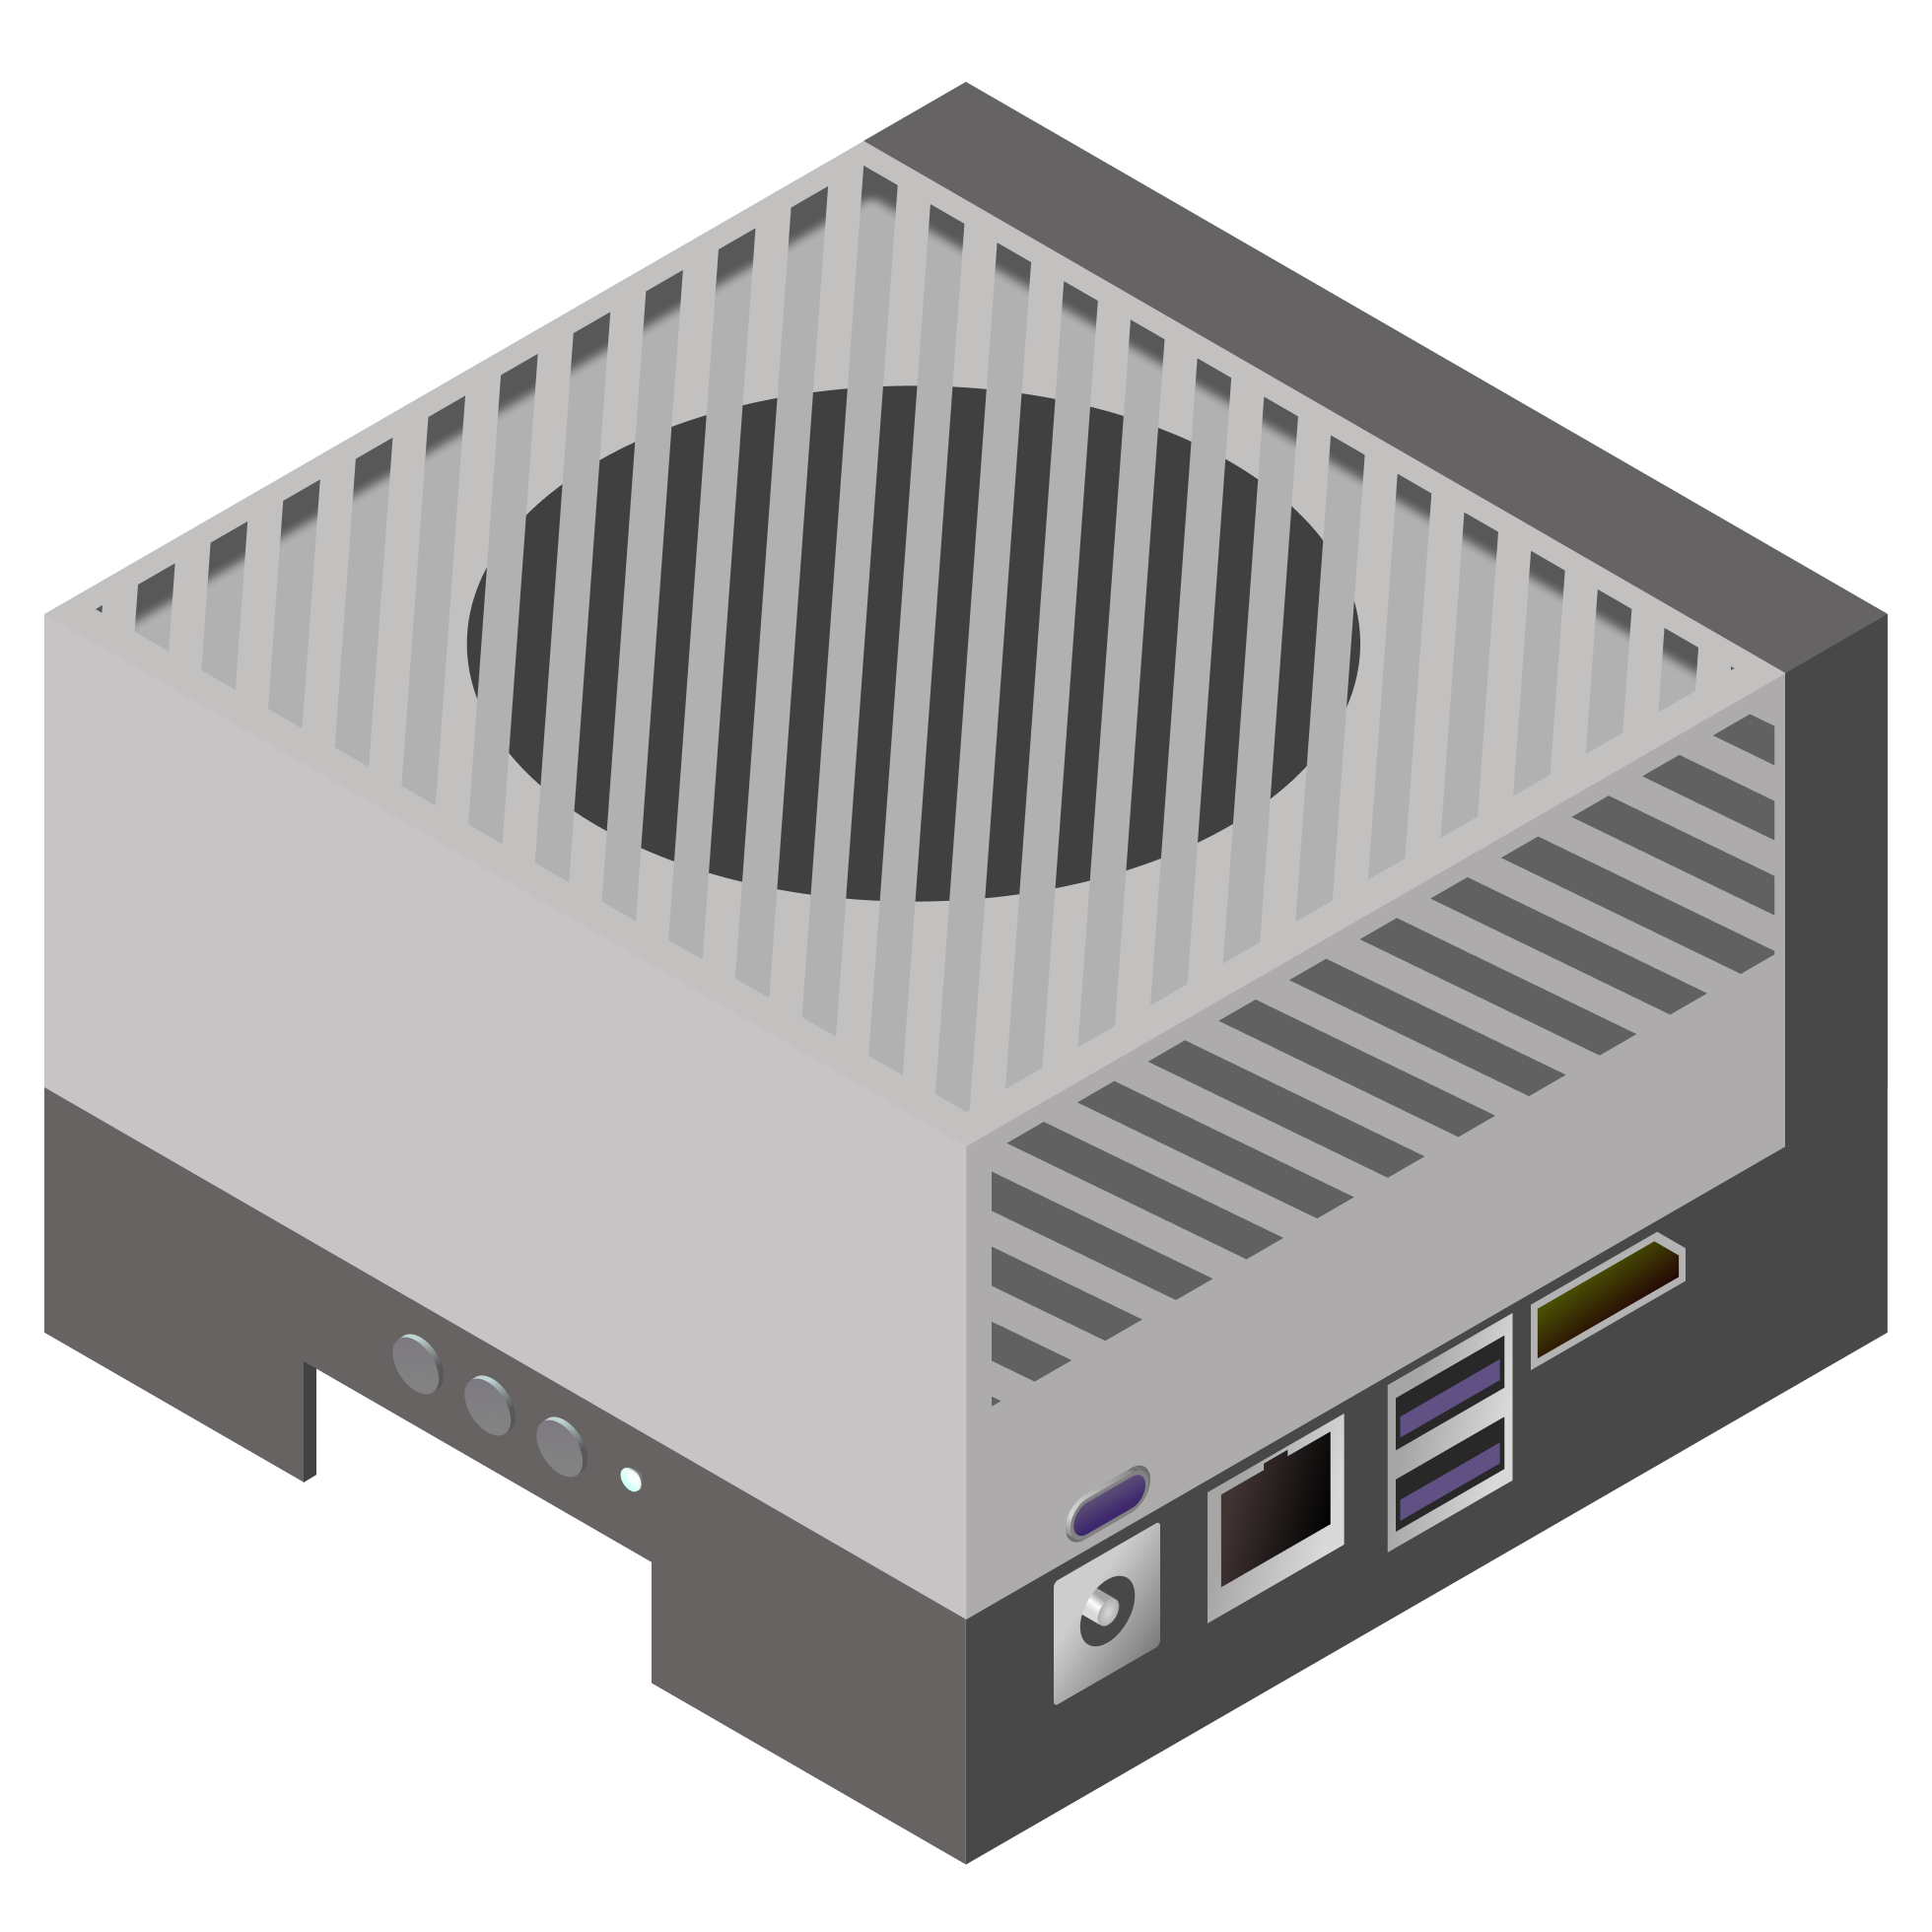
Orin Generation
Jetson AGX Orin Developer Kit — Quick Start Guide
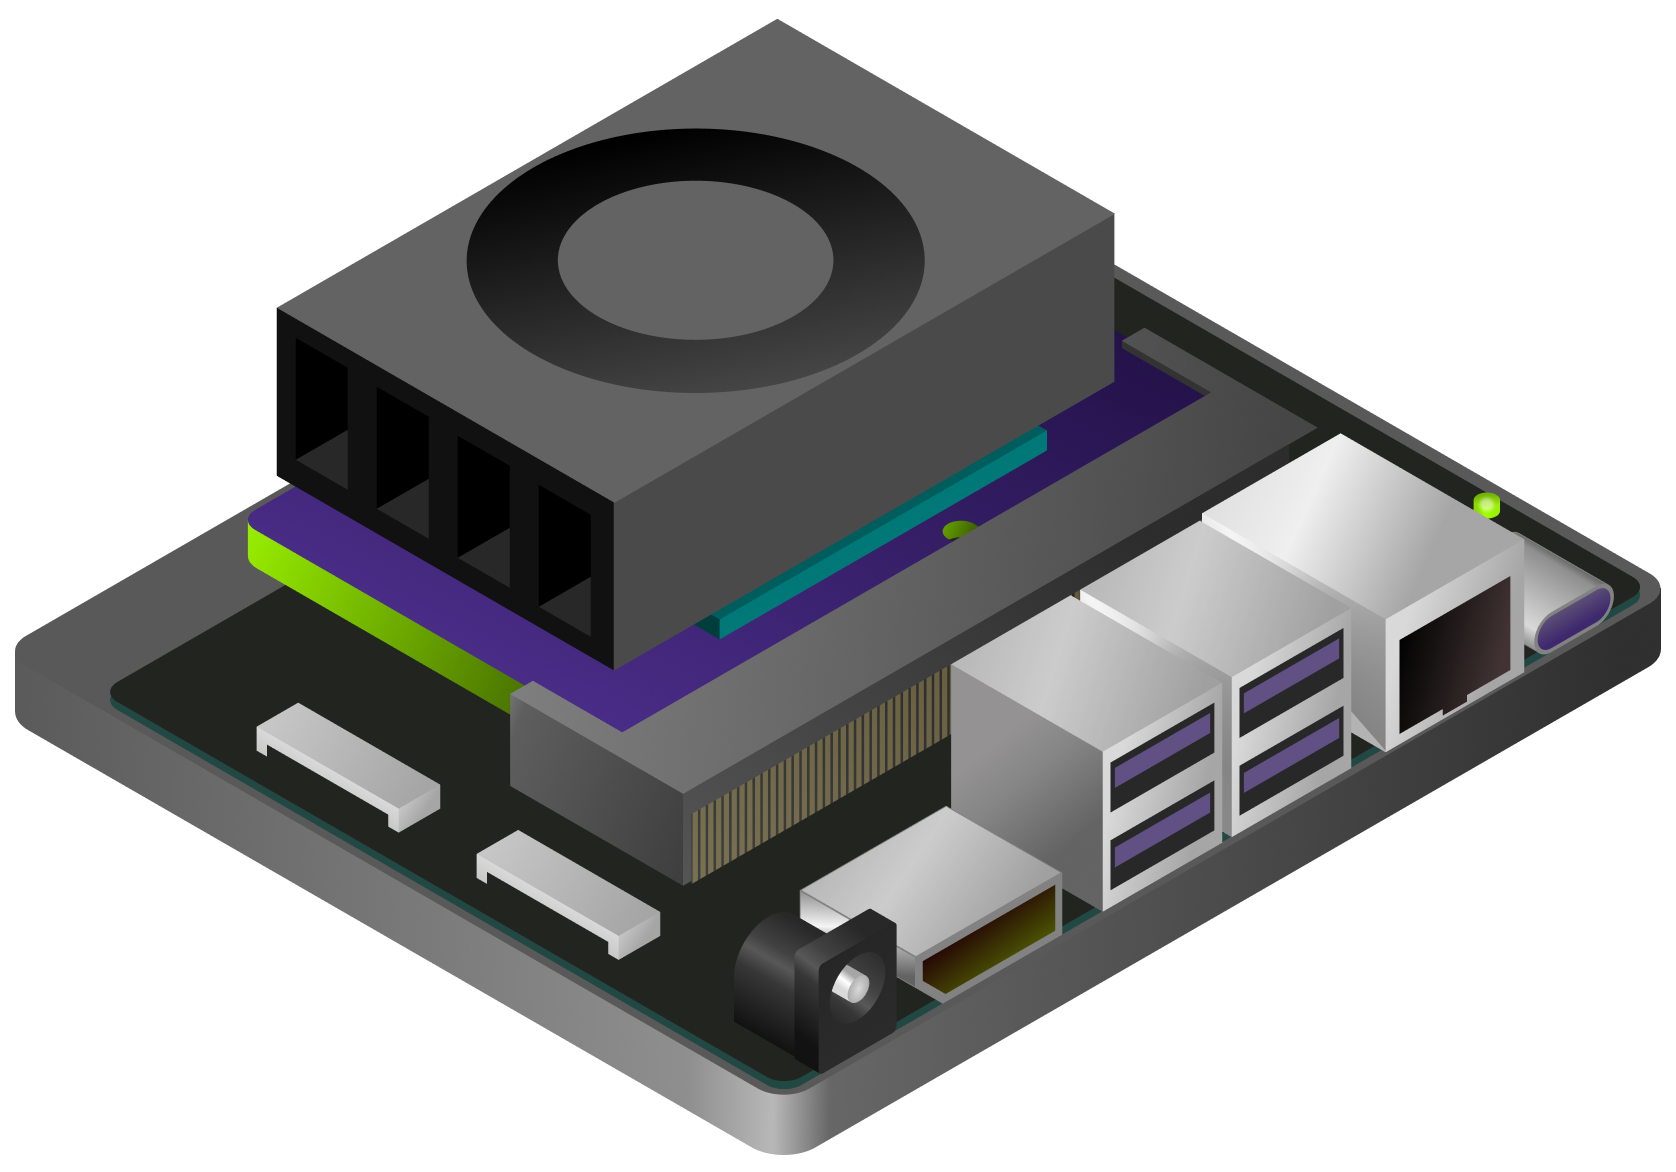
Orin Generation
Jetson Orin Nano Developer Kit — Quick Start Guide
After your Jetson has been flashed and has completed its first boot, continue to the next section to establish a remote development workflow from your workstation.
Remote Development
Development on Jetson is typically done remotely over SSH, so no monitor or keyboard is required on the device itself.
Connect over SSH. Open a terminal on your workstation (PowerShell or Command Prompt on Windows; Terminal on Mac/Linux) and connect, replacing
USERNAMEandJETSON_IPwith your values:ssh USERNAME@JETSON_IP📘 Tip
Orin developer kits expose a fixed address
192.168.55.1over USB-C (USB Device Mode), which is convenient for a first connection before the device is on your network. If that address is not reachable, connect the Jetson to Wi-Fi or Ethernet and SSH using its network IP instead.Connect to a network so the Jetson has internet access for downloading models, packages, and skills:
While SSH’d into the Jetson, connect to Wi-Fi:
sudo nmcli device wifi connect WIFI_SSID password WIFI_PASSWORDPlug an Ethernet cable into the Jetson. Most networks assign an IP address automatically via DHCP.
Find the Jetson’s network IP and reconnect using it (ignore
192.168.55.1, which is the USB connection):hostname -I
💡 Tip
Some Wi-Fi networks block device-to-device connections. If SSH fails over Wi-Fi, use Ethernet or a dedicated local router.
Use VS Code or Cursor for Remote Development
For a complete development experience, connect VS Code or Cursor directly to the Jetson over SSH. This provides file browsing, syntax highlighting, an integrated terminal, and editor extensions running on your workstation, while the code itself executes on the Jetson.
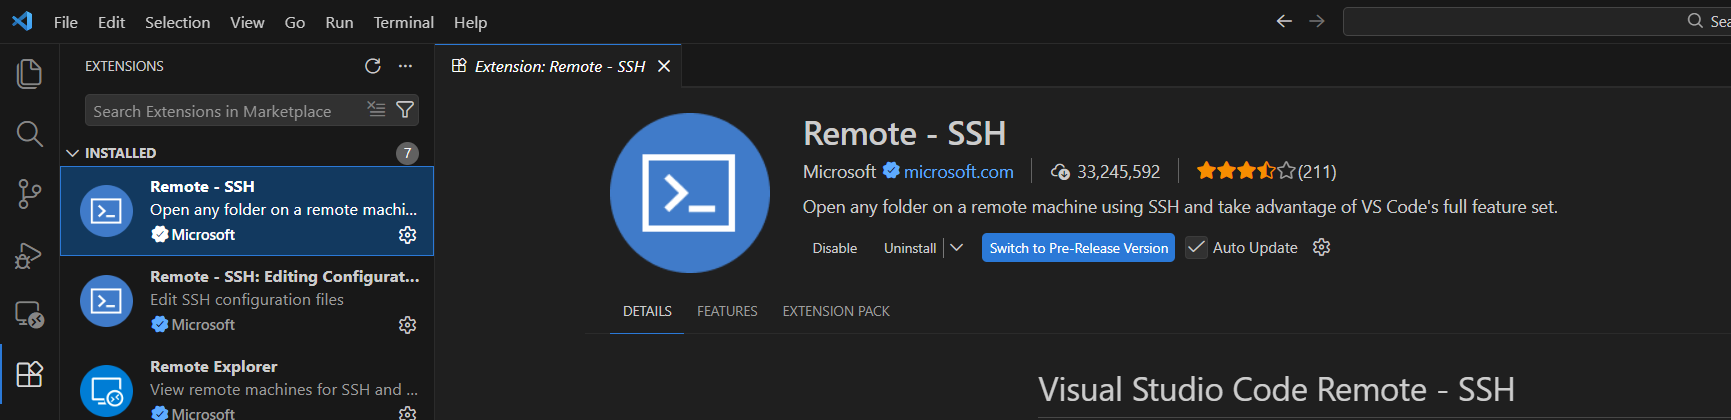
Install the Remote - SSH extension:
- VS Code: Open Extensions (
Ctrl+Shift+X), search for “Remote - SSH” by Microsoft, and install it. - Cursor: The Remote - SSH extension is built-in — no installation needed.
- VS Code: Open Extensions (
Open the Command Palette (
Ctrl+Shift+P/Cmd+Shift+Pon Mac) and select “Remote-SSH: Connect to Host…”Enter the SSH connection string — for example:
jetson@192.168.1.42USERNAME@JETSON_IPWhen prompted, select Linux as the platform for the remote host:
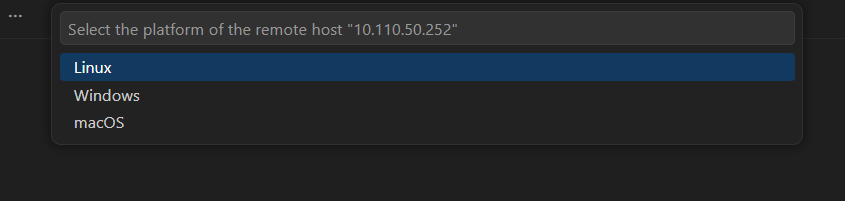
Enter the password when prompted:

The editor connects and installs a lightweight server on the Jetson automatically.
Once connected, you’ll see “SSH: <IP address>” in the bottom-left corner. Use Open Folder to browse and edit files on the Jetson, and open the integrated terminal (
Ctrl+`) to run commands.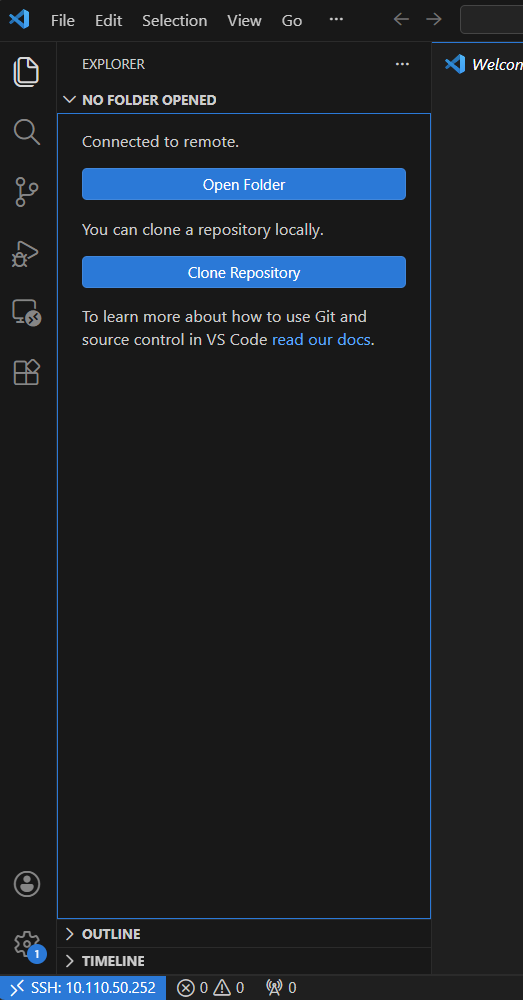
💡 Tip — Save your SSH config for one-click access
Add the Jetson to your SSH config file (~/.ssh/config):
Host jetson
    HostName 192.168.1.42
    User jetson
Replace the IP and username with your values. After this, select “jetson” from the host list in VS Code/Cursor — or type ssh jetson in a terminal.
AI-Assisted Development with Jetson Agent Skills
New to AI-assisted development on Jetson? Start with AI-assisted development on NVIDIA Jetson for a safe, read-only device baseline, then return to the skills guide when you need its deeper workflows.
With SSH working, your AI coding agent can use Jetson Agent Skills to apply documented Jetson workflows with context from the connected device or BSP workspace.
There are two catalogs, split at the flashing boundary:
- Jetson Device Skills run on the Jetson after it boots — diagnostics, memory audits, headless mode, LLM serving and benchmarking, package selection, and video codec workflows.
- Jetson BSP Skills run on your host workstation before flashing — pinmux, USB, PCIe, UPHY, clocks, fan, nvpmodel, camera, MGBE, and memory carveouts.
See Jetson Agent Skills for the complete skill catalogs, per-agent installation options, verification steps, example prompts, and the BSP customization workflow.
Next Steps
- Jetson Agent Skills — set up AI-assisted Jetson development with Device and BSP skills
- SSD + Docker Setup — move Docker storage to NVMe for faster container performance
- RAM Optimization — free memory for large model workloads
- Introduction to GenAI on Jetson — run LLMs and VLMs on-device
- Browse all tutorials — explore models, applications, and workshops