Setup Your Jetson Thor Dev Kit
Connect to your Jetson Thor via SSH and get ready for the workshop.
About the setup
Ubuntu laptop
At the GTC DLI workshop, you seat on a table where you have direct access to an Ubuntu laptop.
This is your client PC, and we use this laptop only for:
- a terminal to SSH into Jetson
- a web browser to access web UI of server running on Jetson
Jetson AXG Thor Developer Kit
Your Jetson AXG Thor Developer Kit is stored in the mobile server rack placed in the same workshop room, and is accessed from your Ubuntu laptop via Ethernet.
Each Jetson AGX Thor Developer Kit comes pre set up with the latest BSP (Jetson Linux / L4T r38.4.0) , Docker containers image and model data pre-downloaded.
⚠️ Attention
When you are typing a command in the console, be sure to make a distinction between a terminal on your client PC and the Jetson terminal.
| Client PC (Ubuntu laptop) | Jetson Thor |
|---|---|
 |  |
🔍 Step 1: Find Your IP Address
We will hand out a note with the IP address of a Jetson AGX Thor Developer Kit that is assigned to you.
Find your Jetson’s IP address.
💡 Pro tip
You can register the Jetson IP address on your Ubuntu laptop (client PC) as an environment variable, so you don’t need to type every time.
export JETSON_IP=10.100.xxx.xxx
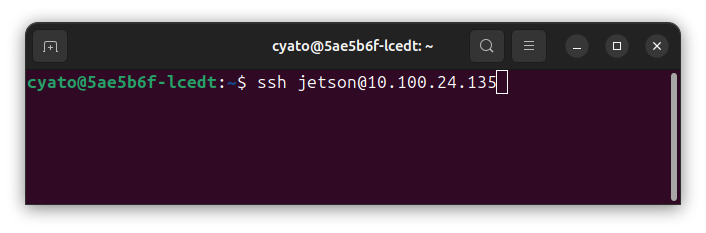
echo $JETSON_IP🔌 Step 2: Connect via SSH
Open a terminal on your Ubuntu laptop and connect to your Jetson Thor:
ssh jetson@${JETSON_IP}Replace YOUR_IP_ADDRESS with the IP from your note card.
🔑 Default credentials
- Username:
jetson - Password:
jetson
Example
# Connect to your Thor
ssh jetson@10.100.123.45
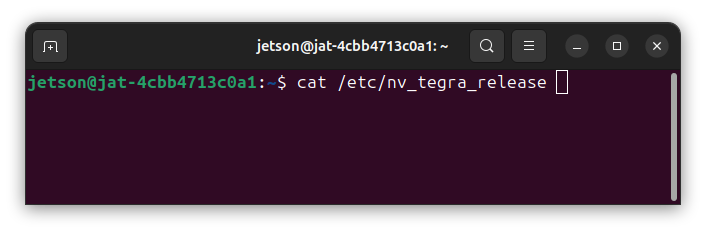
# Enter password when prompted: `jetson`✅ Step 3: Verify Connection
Once connected, verify you’re on a Jetson Thor:
# Check device info
cat /etc/nv_tegra_release

# Check GPU status
nvidia-smi
You should see information about the Blackwell GPU and L4T revision.
You’re Ready! Your Jetson Thor is connected. Continue to Lab 1 to start running LLMs and VLMs.