Initial Setup Guide for Jetson Orin Nano Developer Kit
Complete setup guide for Jetson Orin Nano Developer Kit, covering firmware updates, JetPack 6.2 flashing via microSD card, and enabling MAXN SUPER performance mode.
 Chitoku YATO
 This guide supplements the official Jetson Orin Nano Developer Kit Getting Started Guide.

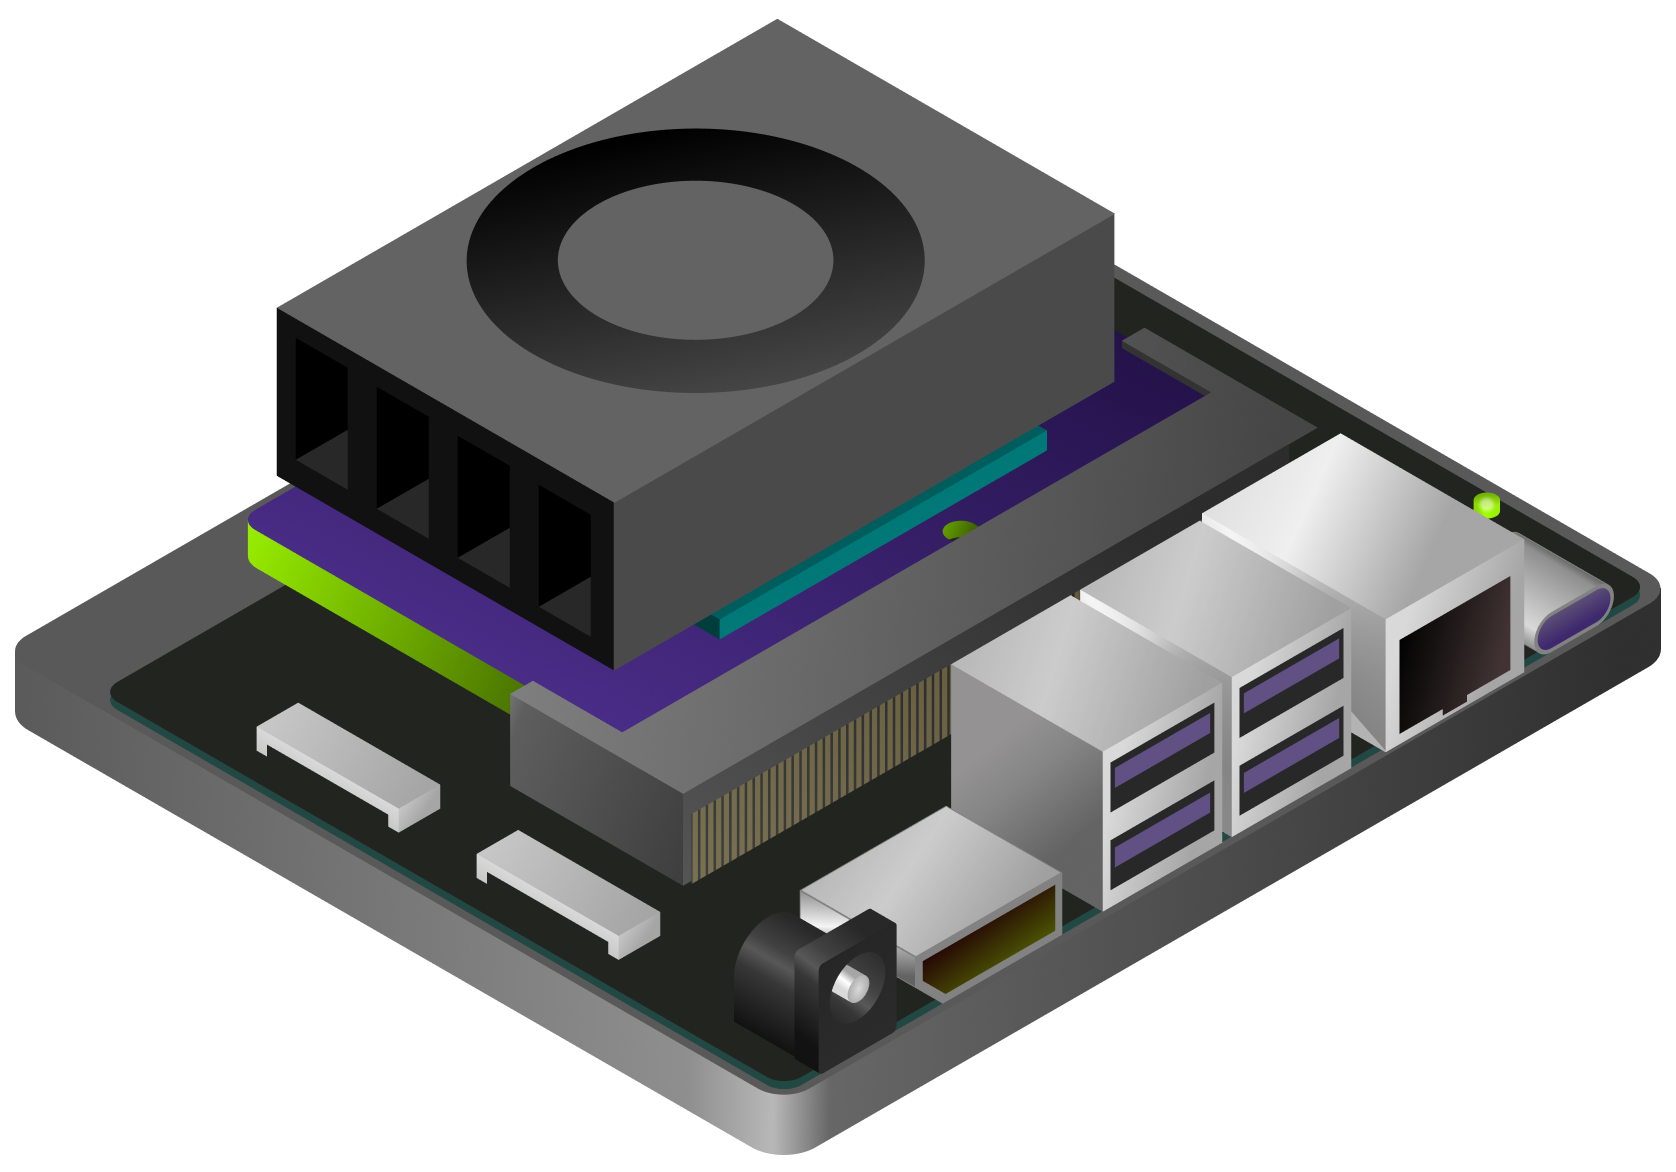
The NVIDIA® Jetson Orin Nano™ Developer Kit is a perfect kit to start your journey of local generative AI evaluation and development.
With the December 2024 software update (JetPack 6.1 (rev.1)), this advanced edge computer delivers up to 70% more performance, making it an even more powerful platform for the era of generative AI.
This guide explains the complete flow from opening the box, updating the firmware if needed, flashing the latest JetPack 6.2 image on SD card, and the initial software setup, so that you will be ready for tutorials listed on this site and other AI projects.
Check Your Inventory
The following items are needed or highly desired to set up your Jetson Orin Nano Developer Kit. If you don’t have them in your inventory, arrange them and return to this guide once they are available.
What does NOT come in the box - What you need/want to prepare
Storage


- microSD card (64GB or bigger)
- NVMe SSD (Optional, but highly recommended for following tutorials on this site)
Means to Access Terminal
You need either of the following sets:
- DisplayPort cable, DisplayPort capable monitor and a USB keyboard
- DisplayPort to HDMI cable and HDMI capable monitor (or TV) and a USB keyboard
- USB to TTL Serial cable (Advanced)
Alternative Method: SDK Manager
In case you have an x86 PC running Ubuntu 22.04 or 20.04, then you can flash your Jetson Orin Nano Developer Kit with the latest firmware and JetPack all at once using NVIDIA SDK Manager.
Also, if you wish to not use a microSD card but rather use a large NVMe SSD for the OS and data, then you need to use SDK Manager to flash the latest JetPack on the NVMe SSD.
Decision Flow:
- Want to ditch microSD and only use NVMe SSD? → Use SDK Manager method
- Have x86 PC running Ubuntu 22.04/20.04? → Use SDK Manager method
- Otherwise → Use this microSD-only method
Otherwise, continue reading on this page for the microSD-only setup method.
Overall Flow (microSD-only Method)

The setup process:
- Check if Jetson UEFI Firmware is newer than version 36.0
- If NO: Boot with JetPack 5.1.3 microSD card to schedule firmware update
- Reboot (Firmware update to 5.0 during reboot)
- Run QSPI updater
- Reboot (QSPI update during reboot - Firmware 36.4.0)
- Boot with JetPack 6.2 microSD card to schedule firmware update
- Reboot (Firmware update to 36.4.3 during reboot)
- Unlock super performance
- 👍 Start developing on JetPack 6.2
Note that it will undergo a total of three (3) reboot cycles.
Walk-through Video
Click here to expand and watch video
1️⃣ Check if Jetson UEFI Firmware Version > 36.0
Your Jetson Orin Nano Developer Kit may have the latest firmware (“Jetson UEFI firmware” on QSPI-NOR flash memory) flashed at the factory.
If not, we need to go through a set of procedures to upgrade to the latest firmware. (Luckily, we can now do this all just on Jetson, meaning we don’t need to use a host Ubuntu PC any more!)
So let’s first check the version of your Jetson UEFI Firmware. You can take one of the following methods.
- Connect your monitor and USB keyboard to your developer kit.
- Turn on the developer kit by plugging in the bundled DC power supply
- Repeatedly press Esc key on the keyboard, especially after NVIDIA logo boot splash screen first appears on the monitor
- You should see UEFI setup menu screen
- Check the third line from the top (below “Not specified”), which should be the version number of Jetson UEFI firmware
ℹ️ Example
Below image shows that this Jetson Orin Nano Developer Kit unit has the old UEFI firmware, indicating that the unit first needs its firmware/QSPI updated in order to run JetPack 6.x.

Connect USB to TTL Serial cable onto the following pins on
J14“button” header of carrier board located under the Jetson module.RXD(Pin 3) ↔ Adafruit adaptor cable GreenTXD(Pin 4) ↔ Adafruit adaptor cable WhiteGND(Pin 7) ↔ Adafruit adaptor cable Black

📘 Note
For the detail, refer to Jetson Orin Nano Developer Kit Carrier Board Specification.
- On your PC, run your console monitor program and open the USB serial port.
- Power on the developer kit by plugging in the bundled DC power supply
- On the PC console, repeatedly press Esc key on the keyboard
- You should see UEFI setup menu screen
- Check the third line from the top (below “Not specified”), which should be the version number of Jetson UEFI firmware
⚠️ Warning
Avoid leaving the device in a black screen state for extended periods or attempting to boot repeatedly with an SD card containing an incompatible JetPack version.
There is a chance that accumulated boot failures may trigger the L4T launcher to always boot into recovery kernel.
If this happens, even after switching to the proper JetPack 5.1.3 SD card, it won’t boot from the SD card until we manually change the L4T Launcher setting.
Although we don’t recommend for the above stated reason, you could skip to 6️⃣ Boot with JetPack 6.x SD card, and try your luck to see if your Jetson just boots with the JetPack 6.x SD card.
If the Ubuntu desktop does not appear within 3 minutes and the screen remains black (as shown below), it indicates that the unit is running an older UEFI firmware version that is incompatible with the JetPack 6.x SD card.

Turn the unit off, and proceed to the next section (2️⃣ Boot with JetPack 5.1.3 SD card to schedule firmware update).
Determine if QSPI Update is Necessary
⚠️ Attention
Select the appropriate tab below based on your firmware version you found in the above step.
If you found your Jetson Orin Nano needs its firmware updated to run JetPack 6.x, click ”🔄 Firmware < 36.0” tab, and then additional steps 2 to 5 will appear for you to follow.
If you know your Jetson Orin Nano has the latest firmware, stay on “⏭️ Firmware 36.x” tab, and skip to the next section (6️⃣ Boot with JetPack 6.x SD card)
Your Jetson Orin Nano needs its firmware updated in order to make JetPack 6.x SD card work.
Perform the following steps (2 to 5).
2️⃣ Boot with JetPack 5.1.3 SD Card to Schedule Firmware Update
First, we need to run JetPack 5.1.3 to let its nvidia-l4t-bootloader package activate the firmware updater.
Download SD card image on to your PC from the official JetPack 5.1.3 page
Jetson Orin Nano Developer Kit⚠️ Warning
NVIDIA had updated the JetPack 5.1.3 image on 5/28/2024, as the old version had some issue and the following process did not work.
So please download and use the latest image (the new file name is
JP513-orin-nano-sd-card-image_b29.zip).
JetPack 5.1.3 imageUse Balena Etcher to flash image to SD card
If you don’t have Balena Etcher, download from Balena official site.
Insert the flashed microSD card into the slot on Jetson module
- Power-on the Jetson Orin Nano Developer Kit with JetPack 5.1.3 SD card inserted
- Complete the initial software setup (
oem-config) Ensure firmware update is scheduled.
Once Jetson boots into Jetson Linux system, a background service automatically runs to schedule a firmware update.
$ sudo systemctl status nv-l4t-bootloader-config
[sudo] password for jetson:
● nv-l4t-bootloader-config.service - Configure bootloader service
    Loaded: loaded (/etc/systemd/system/nv-l4t-bootloader-config.service; enabled)
    Active: inactive (dead)
   Process: 11439 ExecStart=/opt/nvidia/l4t-bootloader-config/nv-l4t-bootloader-config.sh -v
Main PID: 11439 (code=exited, status=0/SUCCESS)
3️⃣ Reboot and Observe Firmware Update to 5.0
Reboot your Jetson Orin Nano Developer Kit.
On the Ubuntu desktop click the power icon (⏻) and select “Restart…”.
$ sudo rebootObserve firmware update during boot up process.


Once done, you will boot into JetPack 5.1.3 (again), with underlying firmware updated to
5.0-35550185.
4️⃣ Run QSPI Updater Package to Schedule QSPI Update
Now that your UEFI firmware is updated to 35.5.0 ( = JetPack 5.1.3 ), it is capable of updating the entire QSPI content to make it ready for JetPack 6.x.
Double-check your firmware version (
35.5.0= JetPack 5.1.3)sudo nvbootctrl dump-slots-infoYou should see:
Current version: 35.5.0 Capsule update status: 0 Current bootloader slot: A Active bootloader slot: A num_slots: 2 slot: 0, status: normal slot: 1, status: normal- Install QSPI Updater
📘 Note
An Internet connection is required to download the QSPI updater package.
sudo apt-get install nvidia-l4t-jetson-orin-nano-qspi-updater
5️⃣ Reboot, Observe QSPI Update, and Power Off
- Reboot - Once the QSPI update is scheduled, reboot your Jetson.
- Observe update - You can observe the QSPI update during boot up.
Power off - Once the update is done, it will try to boot but get stuck.
⚠️ Attention
The Jetson’s firmware is now updated and ready for JetPack 6.x, but incompatible with the JetPack 5.1.3 SD card. Simply power off and insert the new SD card.
✅ Ready for JetPack 6.x
Your Jetson Orin Nano has the latest firmware. Proceed to the next section.
✅ Already Updated
Your Jetson Orin Nano already has firmware ready for JetPack 6.x SD card.
6️⃣ Boot with JetPack 6.x SD Card
Once we know the onboard firmware is up-to-date and ready for JetPack 6.x, we can boot Jetson Orin Nano Developer Kit with a microSD card for JetPack 6.2.
-
Download SD card image on to your PC from the official JetPack page
📥 Jetson Orin Nano Developer Kit JetPack 6.2.1 -
Use Balena Etcher to flash image to SD card
-
Insert the JetPack 6.2 microSD card into the slot on Jetson module
-
Power-on by plugging the DC power supply
-
Complete the initial software setup (
oem-config) -
Ensure firmware update is scheduled
$ sudo systemctl status nv-l4t-bootloader-config
7️⃣ Reboot and Observe Firmware Update to 36.4.3
-
Reboot your Jetson Orin Nano Developer Kit
Click the power icon (⏻) and select “Restart…”.
$ sudo reboot -
Observe firmware update during boot up

Jetson System firmware version 36.3.0-gcid-36106755
ESC   to enter Setup.
F11   to enter Boot Manager Menu.
Enter to continue boot.
Update Progress - 10% *****+++++++++++++++++++++++++++++
Once done, you will boot into JetPack 6.2 again, with the underlying firmware updated to 36.4.3.
8️⃣ Unlock Super Performance
⚠️ Attention
If you are booting with JetPack 6.1 (rev.1) SD card instead of JetPack 6.2 SD card, you may need to execute the following command:
sudo rm -rf /etc/nvpmodel.confSwitch to MAXN SUPER Mode
Note that the default power mode on JetPack 6.2 on Jetson Orin Nano Developer Kit is 25W.
To switch to the MAXN SUPER mode and unlock the unregulated performance:
- Click on the current power mode (25W) by clicking the NVIDIA icon on the right side of the Ubuntu desktop’s top bar.
- Select Power mode from the menu.
- Choose MAXN SUPER to enable maximum performance.

👍 Start Developing on JetPack 6.2
🎊 Congratulations!
Your Jetson Orin Nano Developer Kit is set up with JetPack 6.2 and you are ready to develop on JetPack 6.2.
Next Steps
- SSD + Docker Setup - Install NVMe SSD and configure Docker
- SDK Manager Setup - Alternative setup method for NVMe-only configurations