NemoClaw on Jetson
An easy introduction to NVIDIA NemoClaw on Jetson using a free local Ollama model, with Telegram as a simple way to chat with your agent from your phone.
If you want to get started with NemoClaw on Jetson, this is a good place to start. In this tutorial we will run NemoClaw with a local Ollama model, so you can keep inference on-device, avoid API costs, and keep the setup simple. We will also set up Telegram so you can talk to your agent from your phone.
NemoClaw is the reference stack for running OpenClaw more safely on Jetson. OpenClaw is still the assistant, while NemoClaw adds the OpenShell sandbox, onboarding flow, inference routing, and policy controls around it. If you want a more private and security-focused way to run this kind of agent locally, this is the better path.
The flow below works on Jetson Thor and Jetson Orin.
In this tutorial you will:
- Install or update Ollama
- Pull a local model for NemoClaw
- Install NemoClaw and go through onboarding
- Connect Telegram so you can chat with your agent from your phone
Prerequisites
You only need curl to get started:
sudo apt update && sudo apt install -y curlStep 1: Install or Update Ollama
First, make sure your Ollama install is up to date:
curl -fsSL https://ollama.com/install.sh | shThat command will install Ollama if it is missing, or update it if it is already there.
Even if you already have Ollama installed, we recommend running this command again to make sure you are on the latest version.
Step 2: Pull a Local Model
Next, choose and pull the Ollama model you want to use with NemoClaw. We find that MoE models in the 30B range and above work very well for this kind of agent workflow.
For this tutorial, we will use Nemotron3 Nano 30B A3B:
ollama pull nemotron-3-nano:30bWait for the model download to finish before moving on.
Caution: This model needs at least 32 GB of memory. If you are on a smaller Jetson, choose a smaller model that is capable of tool-calling instead.
If you are on an Orin Nano, Nemotron3 Nano 4B or another model in that range that supports tool calling is a better place to start. It can work, but do expect weaker performance than the 30B-class models.
Step 3: Install NemoClaw
Once the model is downloaded, install NemoClaw:
curl -fsSL https://www.nvidia.com/nemoclaw.sh | bashThis starts the NemoClaw onboarding flow.
Note: The installer will ask for your sudo password. That is expected. It is needed to enable the required kernel modules.
Step 4: Go Through Onboarding
Here is the simplest path through the installer for this tutorial:
- At the license prompt, type:
yes- On step
3/8, labeled Configuring inference (NIM), selectOllamaand then choose the model you pulled earlier. You should see the Nemotron model you downloaded in the list. - Next you will be asked about Brave. If you already have a Brave API key and want to use it, you can choose yes. For the sake of simplicity in this tutorial, choose:
N- Next you will be asked which messaging platform you want to use. For this tutorial, we will go with:
Telegram- You can also choose
DiscordorSlackif that fits your workflow better. For this tutorial, we will stick with Telegram and keep things simple. - The installer will guide you through the Telegram setup. The steps to create the bot and get the tokens are fairly straightforward, so just follow the on-screen instructions.
- It is easiest if you do this with Telegram open on your phone while the installer is running.
- For the second-to-last step, the installer will ask you to create the sandbox. Press
Enterto accept the default name, or type your own if you prefer. - For the final step, NemoClaw will ask you to choose a policy. Keep this as tight as you can.
- If the wizard shows policy tiers or presets, choose the smallest option that still lets you use Telegram. The idea is simple: enable Telegram, but do not open up extra integrations you do not need.
- If you only need Telegram and local Ollama, avoid enabling extra services unless you really need them.
Step 5: Wait for the Installation to Complete
When everything finishes, you should see something like this:
[INFO]  === Installation complete ===

NemoClaw

Your OpenClaw Sandbox is live.

Next:
$ source /home/jetson/.bashrc
$ nemoclaw my-assistant connect
sandbox@my-assistant$ openclaw tui
Telegram is the easiest way to talk to your agent from your phone, but you can also connect locally from the terminal with nemoclaw my-assistant connect and then launch openclaw tui.
Talk to Your Agent
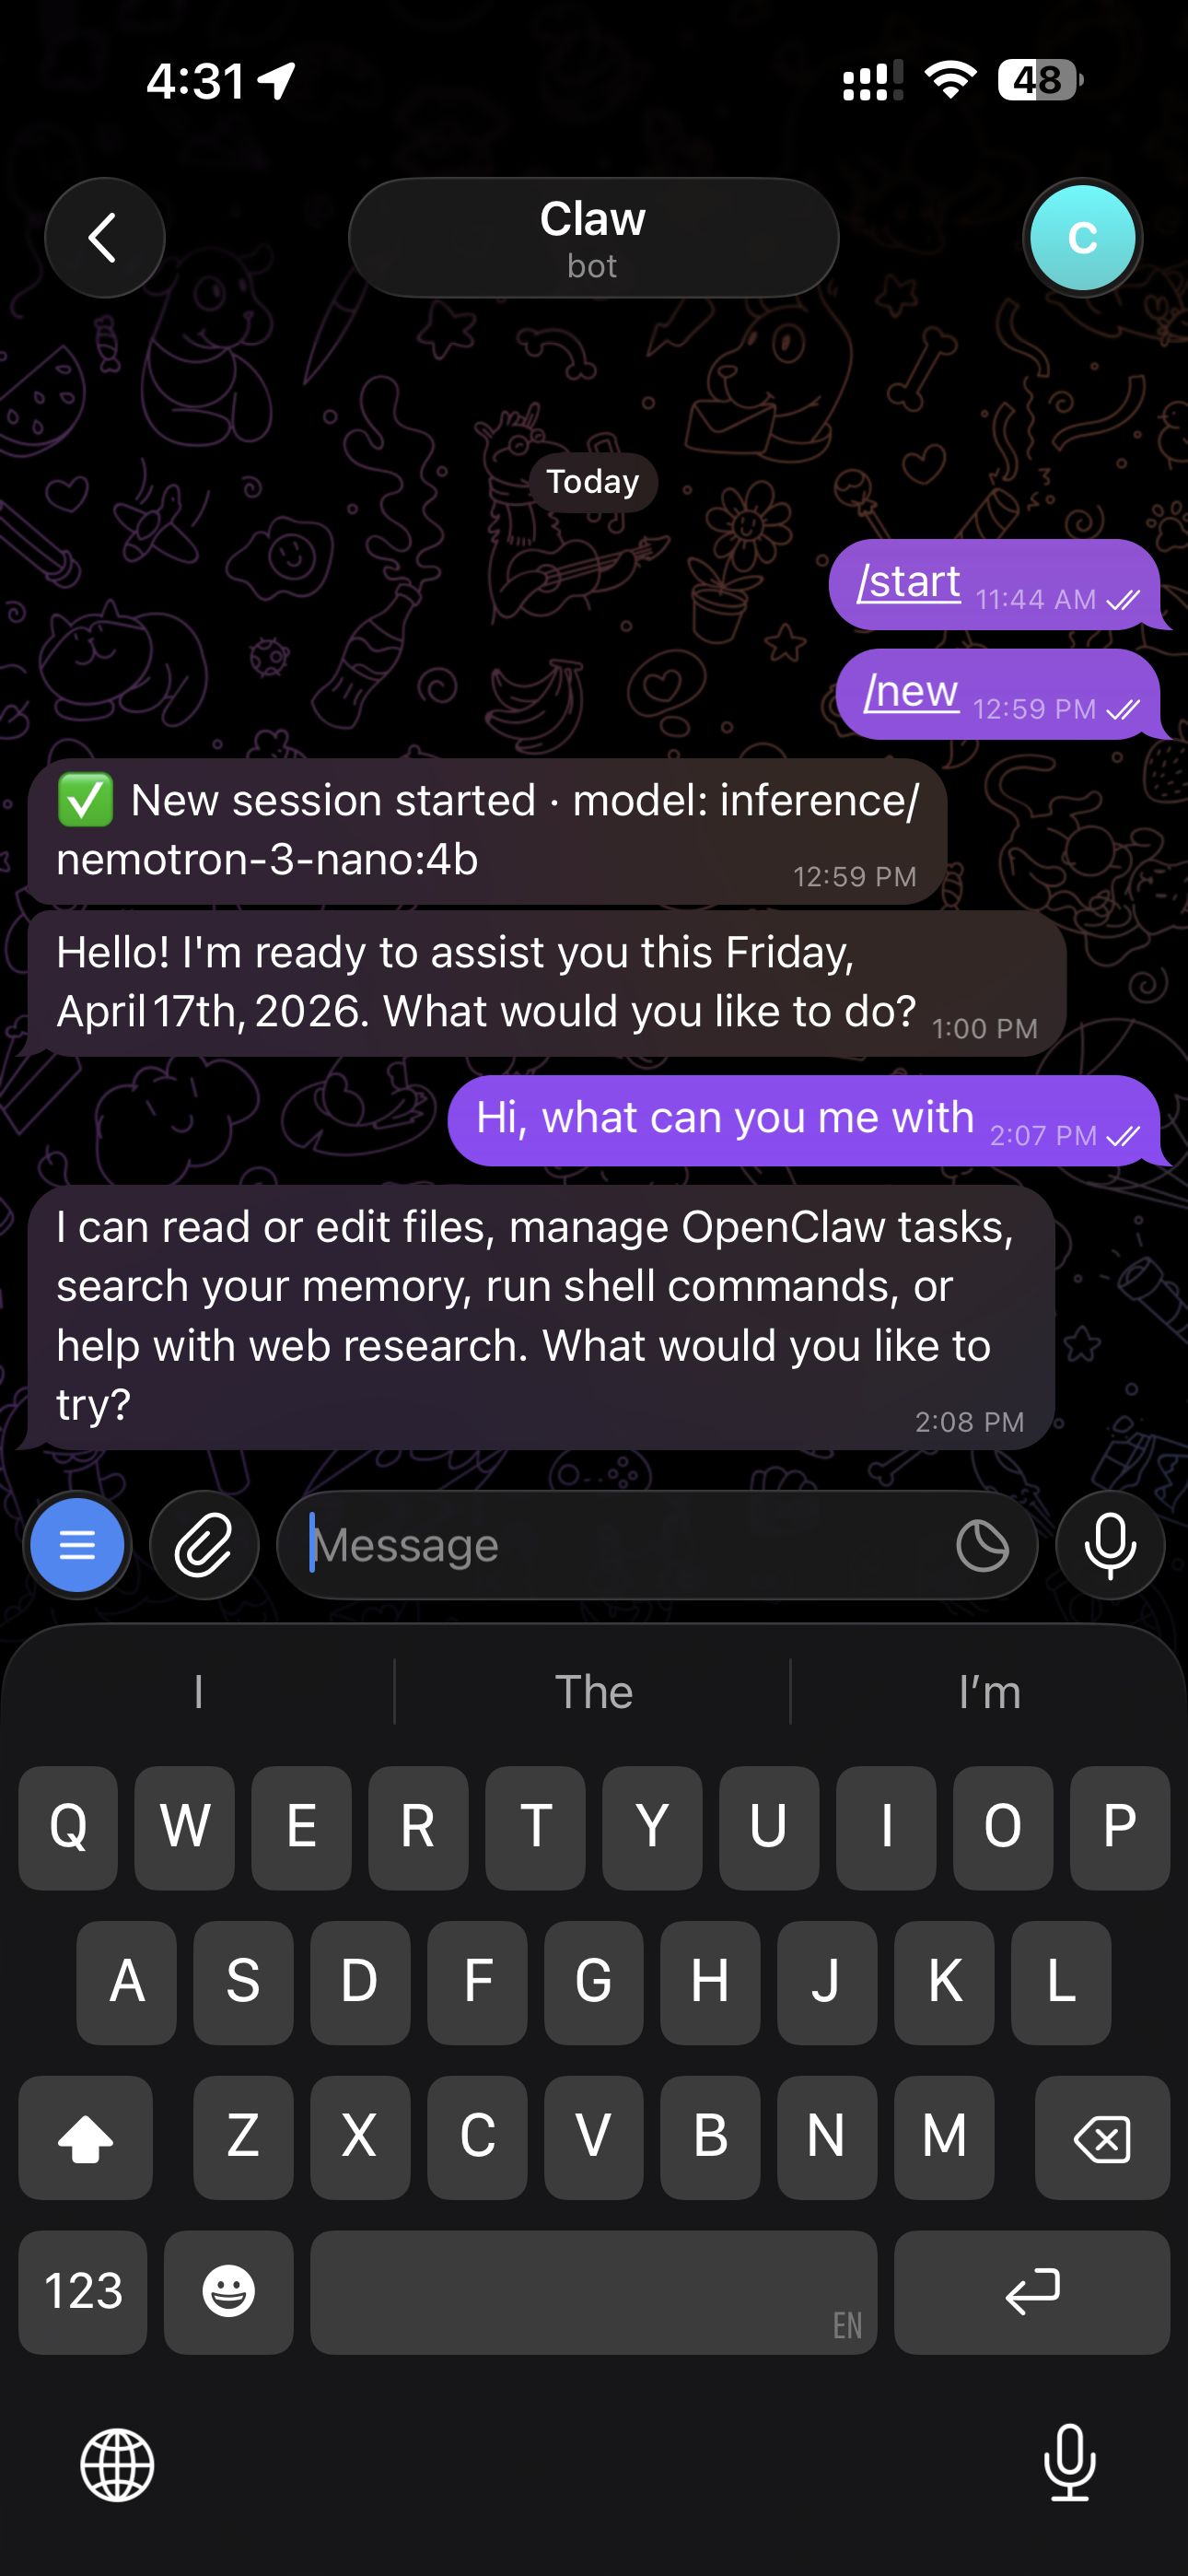
And that is it. The easiest way to talk to your claw now is to message it on Telegram and start exploring.
Ask it whatever you want, try different tasks, and see how it behaves with your local model. That is the simplest way to experience NemoClaw on Jetson securely, locally, and for free.
Here is an example of chatting with the model from Telegram after setup:
Some useful Telegram commands:
| Command | What it does |
|---|---|
/status | Show session info, token usage, and context size |
/help | List all available commands |
/new | Start a fresh session |
/stop | Stop the current agent run |
/model | Switch models |